Maintenance Tour
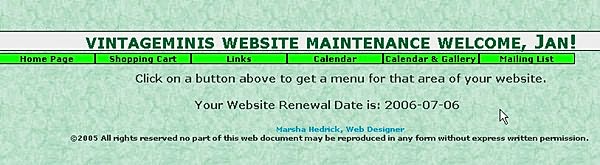
This page contains screen shots of the main forms that you will use to maintain your website along with a description of their purpose. I have included this page so you can see how easy it will be to add your art to your page. More detailed HELP pages are also provided on your individual maintenance menu. Note the actual screens you will use are larger than the screen shots seen here. They have been reduced for this page so the description can be included next to them.Once you have logged into the maintenance Section you will see a maintenance menu like the one shown below. Clicking on the buttons on this menu will take you to the pages where you will enter, edit and delete your artwork, links, calendar entries, and gallery items.
Shopping Cart ItemsAdding Art to the Shopping Cart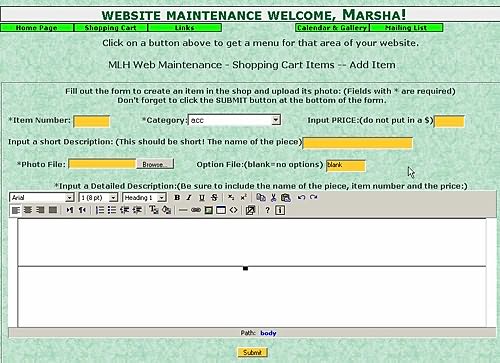 This is the page where you will enter the information about your art. An item number, category, a price, short description, long description, Click the Browse button to find the photo for the piece on your hard dirve, and enter an option file name. When you click Submit the item will be added to the shop and the photo will be uploaded at the same time. This is the page where you will enter the information about your art. An item number, category, a price, short description, long description, Click the Browse button to find the photo for the piece on your hard dirve, and enter an option file name. When you click Submit the item will be added to the shop and the photo will be uploaded at the same time. |
Editing and Deleting Shop Items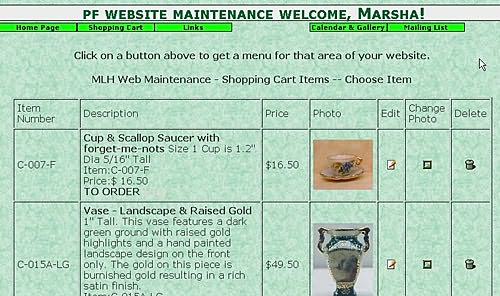 When you choose the 'Edit Shop Items' option you will first choose the category that you want to edit items in. When you choose the 'Edit Shop Items' option you will first choose the category that you want to edit items in.Then you will see a page like the the photo to the left that contains all of the items in your shop in that category. One the right of the screen you will see three icons. From left to right these are for: Edit, Change Photo, and Delete. If you wish to EDIT and item just click on the 'edit' icon on the line with the item you wish to edit, then you will see the screen shown below for that item. If you wish to change the photo associated with the item click on the 'change photo' icon. If you wish to delete the item click on the 'delete' icon and you will be asked to verify deletion, after which the item and its photo will be deleted. |
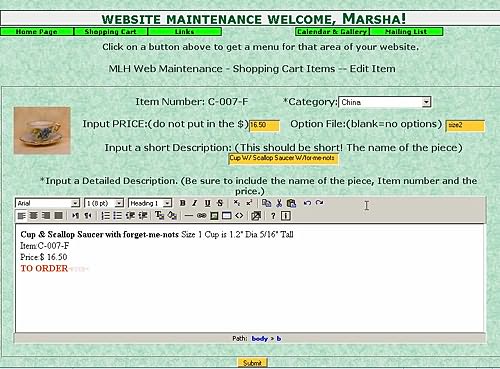 If you have clicked the 'edit' icon the information for that item will be loaded into a screen that looks like the one on the right. If you have clicked the 'edit' icon the information for that item will be loaded into a screen that looks like the one on the right. When you have completed your changes just click on the 'Submit' button and the item will be updated. This screen will allow you to change all of the information associated with the item except the photo and the item number. To change the photo click on the 'change photo' button. You cannot change the item number. View detailed HELP page for Shop Items |
Shopping Cart Option Files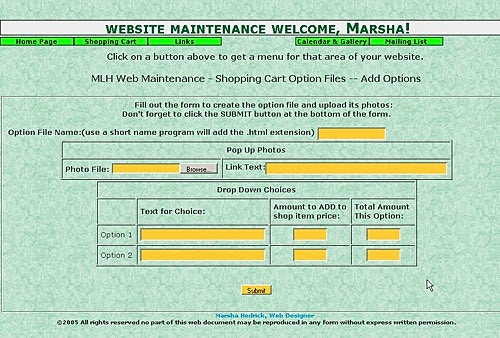 Sometimes you will have options that might be available for an item.
For example you have T-shirts with an original graphic design on them but they come in red blue and green. Making three separate shopping items for the various colors is redundant and can be annoying to the customer. A simple drop down with the various choices is much better. The option file is how you handle this. In the screenshot above you can see space to enter one pop-up photo and two drop down choices. You can select up to four pop-up photos and up to 9 drop down choices for each shopping cart item. View detailed HELP page for Shopping Cart Option Files |
Category Info Files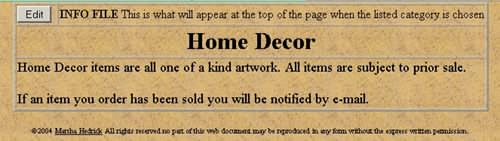 Category Info Files allow you to give the customer general information that applies to all the items in a given category in your shopping cart. This information is shown at the top of the product page when a customer selects that category. Category Info Files allow you to give the customer general information that applies to all the items in a given category in your shopping cart. This information is shown at the top of the product page when a customer selects that category.View detailed HELP page for Category Info Files |
Links EntriesAdding Links This is the form you would use to add links to your links page. This is the form you would use to add links to your links page.View detailed HELP page for Links |
Calendar and Gallery EntriesAdding Calendar Entries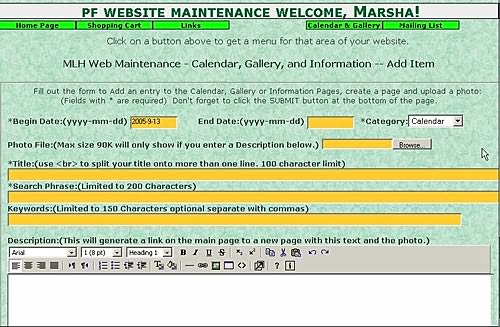 A calendar and/or gallery is available to notify your customers of events (calendar) or to showcase special pieces (gallery) or information pages to offer tips or techniques. A calendar and/or gallery is available to notify your customers of events (calendar) or to showcase special pieces (gallery) or information pages to offer tips or techniques.Calendar and Gallery entries are added using the form to the left. |
Editing Calendar Entries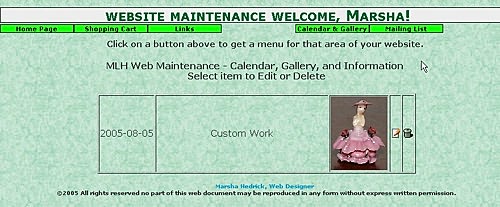 To edit calendar, gallery or information entries, you will first choose which type of entry you wish to edit, then you will get a page like the one to the left with all of the entries in that section listed. To the right of the page you will see two icons 'Edit' and 'Delete' Just click the appropriate icon to edit or delete an entry. To edit calendar, gallery or information entries, you will first choose which type of entry you wish to edit, then you will get a page like the one to the left with all of the entries in that section listed. To the right of the page you will see two icons 'Edit' and 'Delete' Just click the appropriate icon to edit or delete an entry.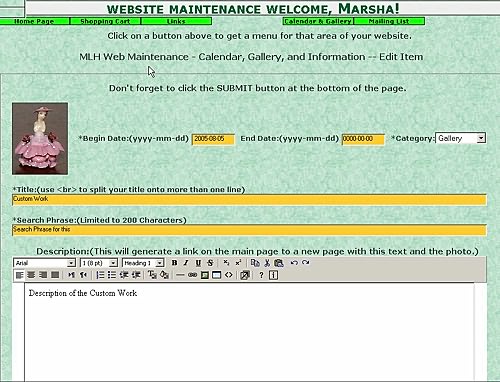 If you choose to edit you will see the screen shown to the right with all of the information for that entry. If you choose to edit you will see the screen shown to the right with all of the information for that entry.View detailed HELP page for Calendar and Gallery Entries |
